Support on this page via E-Mail...
This chapter deals with basic functions in DDS-CAD. Model handling, project, screen, menus, help geometry handling, project, screen, menus, help geometry.
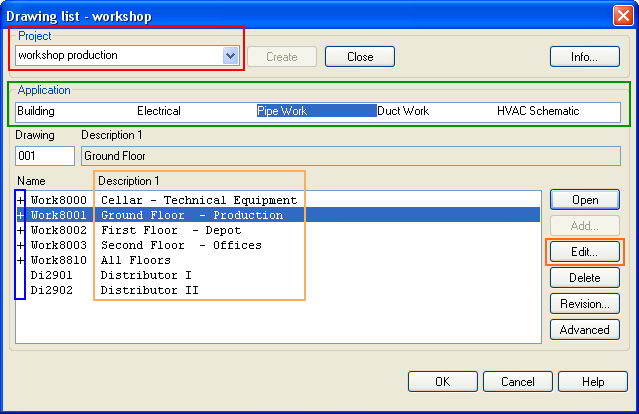
The first you see when starting the DDS-CAD is a drawing list, or project administrator. All designing is done on project basis, and all new drawings are created via the project administrator. When a project is created, a separate project folder will be established, where drawings and other documentation are saved. In the project administrator you will find a list of proposals for drawings. You decide whether you want to use these proposals, or make your own description of each drawing.

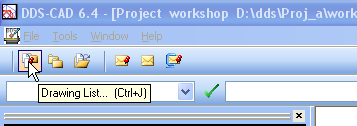
If the drawing list should disappear from the screen, you can get it by pressing the button "Drawing list" in the menu.

Project administrator. The opening of drawings and creating new drawings must be done here.
Project: Displays active project. The pull-down menu allows you to get other projects as well
Application: Depends on which DDS-CAD modules you have got, and you can work in the various applications
Existing drawings: As mentioned previously, proposals for drawings are displayed in the drawing list when you create a new project. If a + sign appears in front of the drawing, this means that the drawing has been created and saved.
Description: Description of drawings in active project. Press the "Edit" button to change description.
There are two ways of creating a new project:
1) Remove the existing project name in the pull-down menu, write the name of the new project and press the button "Create". The project name is limited to maximum 8 signs (numbers or characters).
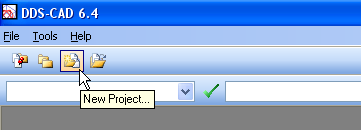
2) Close the project administrator, find the button "Create a new project", browse to the folder where you want to save the project and drawing files, enter a name or number for the project and press "Save". The advantage with this method is that you can enter several signs and spaces in the project name. NOTE: Always create a separate folder in which the projects files are saved.

More ways of creating a project.