Suspended Ceiling
| Create new suspended ceiling as product |
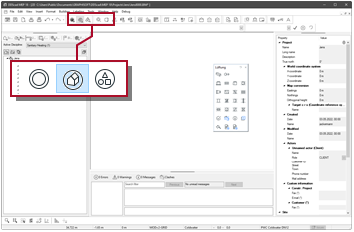
Insert suspended ceiling |
| Move suspended ceiling dynamically |
| Change reference wall |
Example
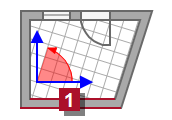
Suppose you want to use products that are to be installed in a suspended ceiling (e.g. recessed luminaire, air terminal). For this purpose, you should first insert a suspended ceiling in this room, which will be used as an object for placement and controlling the mounting height.
Required conditions
-
 Building Model is active or the model is opened in the discipline Building.
 - The room is defined.
Workflow
- Select: Building
 Suspended Ceiling
The dialog appears. -
Check the settings in the Properties area.
More - Activate:
 Centered
 - Click OK. The cursor appears as a crosshair.
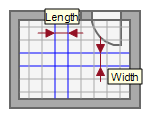
- Click
 in the desired room. The suspended ceiling is inserted centrally into the room. The alignment is based on the reference wall. The function remains active.
 -
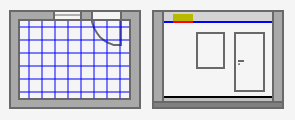
If necessary, perform subsequent corrections.