Area (floor/roof/external wall)
The Area tool is used to describe the external envelope of the building, including internal atria and wells with external faces.
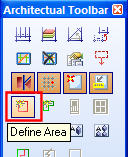
Area definition from toolbox.
It can be very advantageous to start with a corner in the drawing origin. If snap is active, you will be able to snap to origin when you start defining the area.
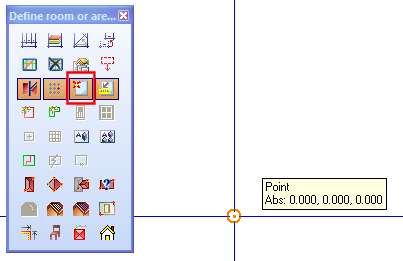
Start area in the drawing origin (X=0, Y=0 and Z=0).
When starting point is set, the definition is started. To select wall type, click the right mouse button to get the "pop-up" menu. The first option is "Select wall ...............W"
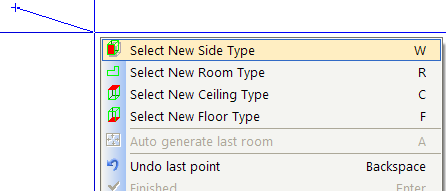
Select wall from the pop-up menu. This can only be activated when you define area or room.
From the product database you can now select which external wall you want to define. This will be used until you define a new wall.
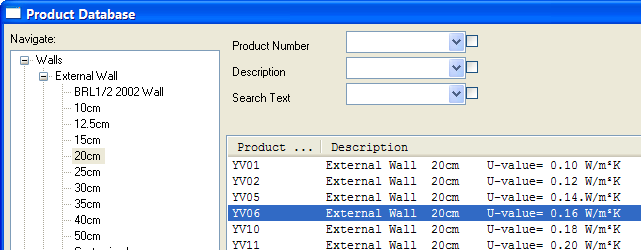
Wall from the product database. Select on the left side if this is an external wall, and thickness. On the right side you will find a selection of various U values.
When you have selected a wall, point and click house corners. For accurate measures and lengths you can use the arrow keys on your keyboard. You can also enter length and direction from the pop-up menu.
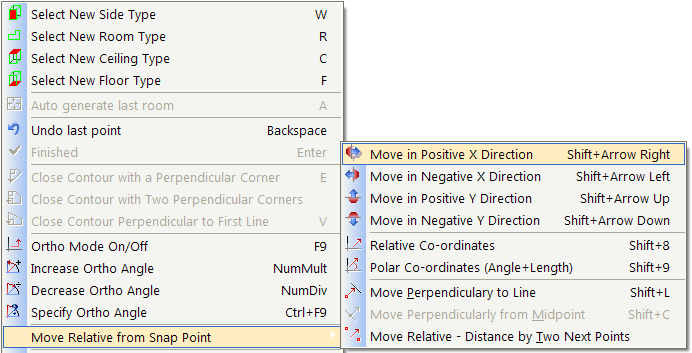
Length and direction from pop-up menu. For straight wall you can use the arrow keys. For slanting wall you can use polar co-ordinates.
Enter length in meter. When two walls of the area remains, you can choose to close the area from the pop-up menu. If one wall remains before the area is closed, you can press the Enter button from your keyboard.
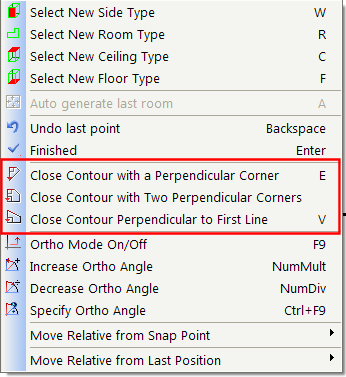
Various manners of closing the contour from the pop-up menu.
Define this area.
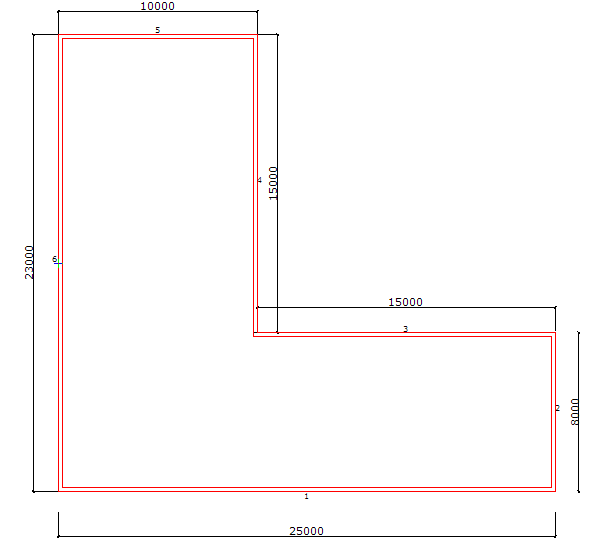
The area that is the basis for the building.
When the area is closed, DDS-CAD will ask for roof and floor. Select what to be used and press OK. You can edit all building objects from Room data later
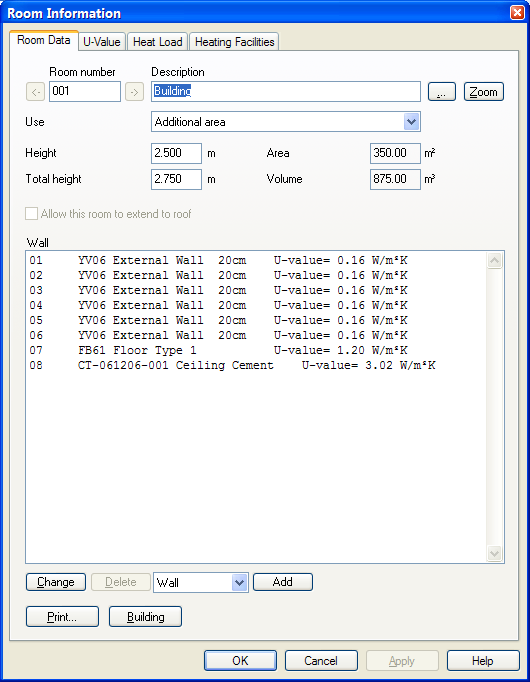
Room data displays the building objects after an area is defined. By double-clicking on an element in the list you will be able to change properties.
See video how to define the area and close it by selecting a rectangular corner (E) from the pop-up menu
See video how to define the area and close it by selecting end ( Enter) from the pop-up menu
If there are to be an open area inside the building, this is to be defined as a new area, but not it should be drawn clockwise.
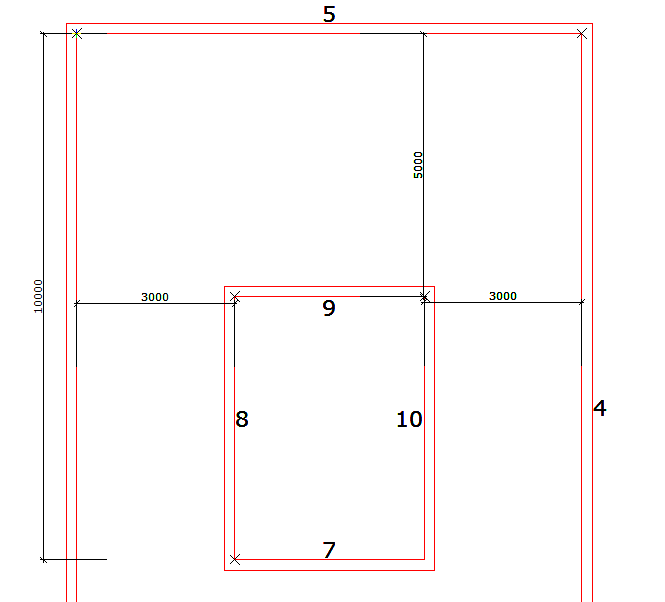
Open area inside the building. Defined clockwise. You are recommended to use help geometry.
See video how to organize with help geometry, and then define an open area inside the building.
< Previous Section - Next Chapter >
